Inspection services
Always ready for the track

Inspections
Eddy current testing
An established method for detecting surface defects up to 2.7 mm deep that are caused by rolling contact fatigue. Eddy current testing examines the running surface and running edge of the rail.
Ultrasonic testing
Able to detect flaws in real time, ultrasonic testing is the most popular method used totest for defects in the rail‘s head, web and base. In addition to recording any internal irregularities, the latest inspection systems can also detect squats, deep head checksand corrosion on the rail base.
Visual inspection
Specially trained staff inspect the rails with the naked eye for visible rail defects.
Magnetic particle testing
Magnetic particle testing can detect surface defects in any components that can be magnetized, and is used in particular to test the quality of welds.
Measuring procedures
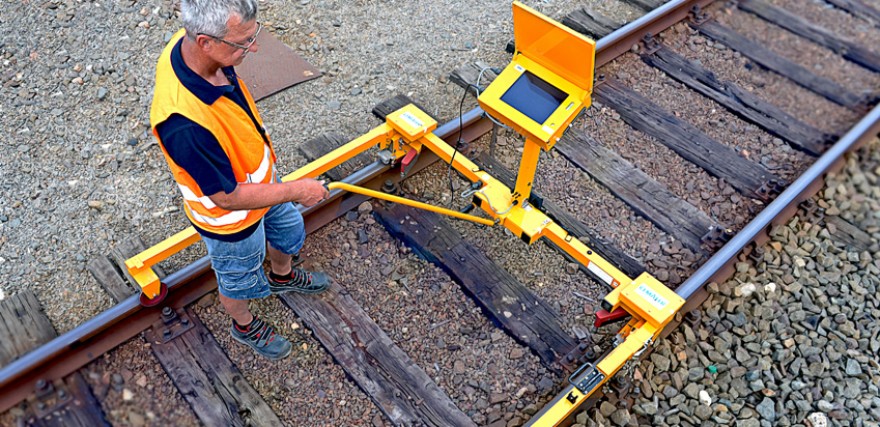
Transverse profile measurements
The rail head is measured using a large number of coordinates. This determines the rail type and its current condition is compared with the original profile from the rail library. This procedure provides important information about wear.
Longitudinal profile measurements
This system for detecting short-wave defects in the rail head measures all corrugations of between 10 mm and 1 meter.
Switch measurements
When taking switch measurements, the parameters on the tracks and points such as track gauge, cant, groove width and distortion are recorded.
Material removal measurements
Vossloh uses the status data to calculate just how much material needs to be removed to ensure that the transverse and longitudinal profiles are machined cost-effectively.


