Products

Selective and continuous measuring and testing

Rail inspection and analysis

Regulations require that rails are regularly inspected in order to prove that they are in good condition. Vossloh's modular service offering enables customized solutions for all tasks. 

You determine the right mix of service and in-house work that will deliver optimal results: from consulting and planning to start up assistance for the internal development of maintenance work and services to a comprehensive, worry-free package.

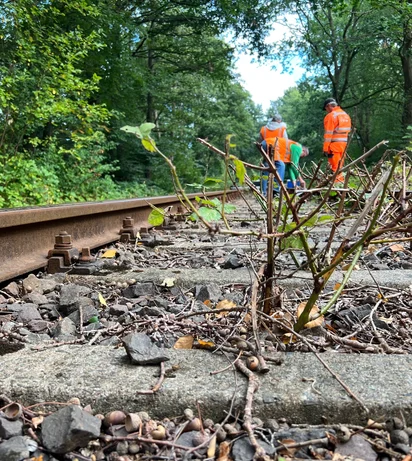
Choosing the right rail and turnout processing method requires detailed knowledge of the current condition of the rails. Some damage can certainly be detected by a professional with the naked eye. But what about the material fatigue that is invisible beneath the rail surface? You cannot rely on experience alone here. Due to varying axle loads and train densities, rolling contact leads to hardening, crack formation, and – if preventative measures are not taken – to significant rail and turnout damage at very different rates across network segments. Regular measurements and inspections of the track system are therefore essential in order to determine the optimal maintenance time in each case.
Accompanying the entire life cycle

Measuring & Testing

Evaluate

Consulting

Realization

Handover / Acceptance

Inspections

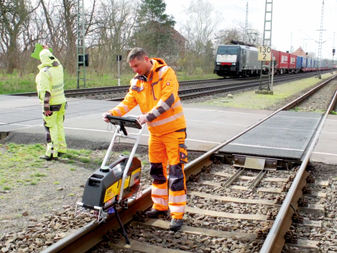
Vossloh employs the most modern testing and measuring technology together with certified, highly specialized personnel who possess extensive knowledge on all the stages of the rail’s life cycle. There’s a choice of various testing and inspection methods to detect irregularities in the rail, and special software is used to analyze and prepare the results for interpretation.

Experts then use the data collected as the basis for selecting the most economical maintenance procedure and determining its process parameters.


Vossloh uses the following testing and inspection methods:

  • Visual inspections - A standard, integral component of rail inspections. Our specialists use their wealth of experience in combination with quick and simple methods to determine the most suitable action. Any abnormalities they notice will then require further testing.
  • Eddy current testing - An established method for detecting and evaluating surface defects in the running surface and the running edge down to a depth of 2.7 mm. By fully exploiting the probe’s depth range, we can quantitatively determine the crack length and crack depth of head checks very precisely.
  • Ultrasonic testing - The most widely used method for detecting internal defects in the rail’s head, web and base. In addition to detecting internal irregularities, our cutting-edge inspection system also detects squats, deep head checks and corrosion in the rail base.

Measuring service

A reliable picture of the rails’ current condition can only be generated once the crack detection results have been supplemented by rail and track geometry measurements. These determine the state of wear on rails, turnouts, crossings, expansion joints etc., which is then compared with the standards, regulations or company-specific target values. 


These measurements include:

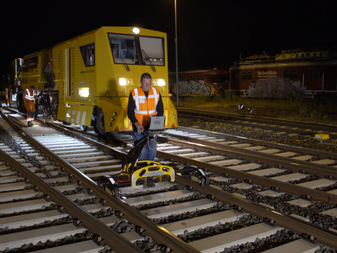
  • Measuring the cross-sectional profile of the rail head - The contours of the rail head are scanned mechanically and the rail type is identified. The shape of the rail head is then compared with the theoretical profile and any deviations found are quantified. This reveals how much the rail has worn and whether reprofiling is necessary.
  • Measuring the rail’s longitudinal ripple - Systems for detecting irregularities in the longitudinal profile of the rail’s running surface measure corrugations with wavelengths of between 10 mm and 300mm either localized or continuously depending on the requirements.
  • Evaluation of rail surface roughness - After grinding or milling, the residual roughness of the rail is measured and classified according to the relevant standards.
  • Material removal measurements - Localized measurements are carried out at several locations before and after the rails are machined. The difference between the measurement before machining and the measurement after machining determines that amount of material removed. Officially approved measuring equipment and a subsequent statistical evaluation ensure high-quality measurements and evaluation of the material removed.

SoniQ Rail Explorer Ultrasonic inspection

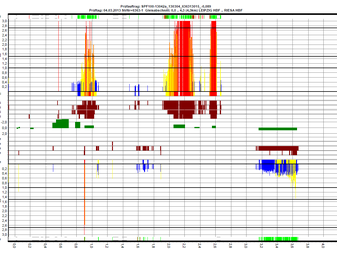
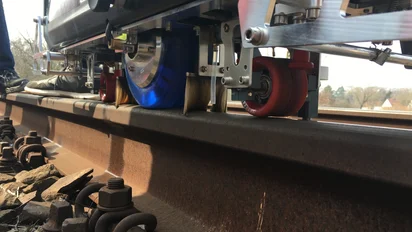
In addition to the measuring methods and devices for documenting the rail’s longitudinal and transverse profiles, ultrasonic inspections serve to localize operations-related irregularities in the rail’s interior. Thanks to testing electronics and software from the PCUS pro® family, the SRE detects reflectors from volumetric defects on both the gauge corner side and the field side and even deep squats and head checks as well as corrosion in the rail base according to DIN EN 16729-1. The ultrasonic roller unit has nine test probes that insonify the rail from various different angles.

Interpretation, consolidation, and verification by experts transforms the data obtained into useful information. Particularly noteworthy is the clear and easy-to-understand documentation, which is comprehensible to users, decision-makers, and regulatory authorities alike. It ensures traceability of the track condition and provides a solid foundation for actions and well-informed decisions:

  • Reliable, reproducible results
  • Informative, clear, and easy to understand
  • Creates transparency, can be interpreted without specialist knowledge or additional tools
  • Detailed individual results and summarized overall results
  • Consistent traceability of track condition development.
  • Qualification of decisions and planning
  • Increased efficiency in work planning
  • Reduction of execution errors/defects
  • Objectification of visual inspections and condition assessments
  • Compliance with quality management requirements
  • Individual measurement methods allow conclusions to be drawn about the condition of the rails and enable an active response to various initial conditions:
    • Changes in the transverse profile are more likely to be noticed
    • Noise prevention
    • Creating grinding or milling strategies to act more effectively/targeted at "hot spots."
  • For documentation purposes, measurements are taken before and after rail processing, and possibly also at intermediate stages
  • Measurements for acceptance and billing of rail processing
  • Acceptance of rail machining in accordance with customer-specific regulations (e.g., DB RIL 824.8310).
Contact
Contact us